Your kitchen cabinets and room doors achieving perfect alignment and minimalist aesthetics—the answer lies in this unassuming piece of hardware.
If you're renovating a kitchen, customizing wardrobes, or simply upgrading old cabinet doors, you've undoubtedly come across the term "concealed hinge." Also known as European hinges or 35mm hinges, these are far more than just a connector between door and frame—they are arguably the core component that enables modern custom cabinetry to achieve both a sleek, minimalist appearance and superior functionality.
The widespread popularity of concealed hinges stems from their ability to solve two major pain points of traditional hinges: unsightly appearance and lack of post-installation adjustability. When the door is closed, the hinge disappears entirely, leaving behind nothing but clean, seamless lines. Simultaneously, their unique three-dimensional adjustment system allows you to fine-tune door positions with ease—enabling even a novice to achieve professional-grade results.
A concealed hinge is a hardware component installed inside the cabinet door and frame, completely hidden when the door is closed. It consists primarily of two parts: a hinge cup mounted within a drilled recess on the door, and a mounting plate fixed to the cabinet side panel. The system typically features a clip-on or snap-on design, allowing the door to be easily attached or detached from the base plate without tools.
Why is it so powerful? The key lies in its three-dimensional adjustability. Traditional fixed hinges, once installed, are immutable—any error in alignment is permanent. Concealed hinges, however, allow for precise fine-tuning via dedicated adjustment screws:
| Adjustment Axis | Function |
|---|---|
| Vertical (up/down) | Aligns the door's top and bottom edges with adjacent doors or frames. |
| Horizontal (left/right) | Adjusts the gap between the door and the cabinet side, ensuring even reveals. |
| Depth (in/out) | Adjusts the door's flushness with the cabinet face—preventing it from sitting recessed or protruding when closed. |
These micro-adjustment capabilities mean that even if your drilling or woodworking has minor inaccuracies, the final result can still achieve flawless alignment.
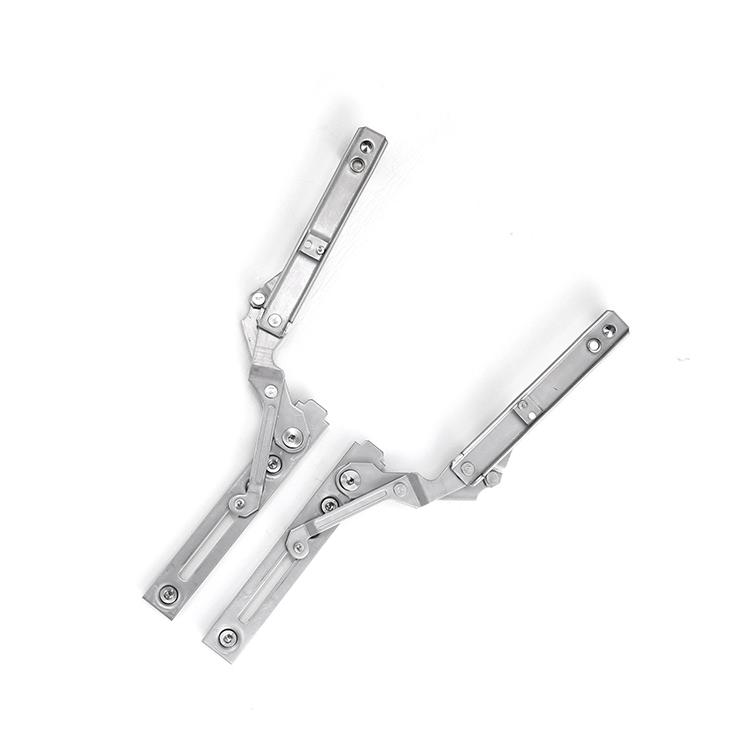
Not all hinges are created equal. Choosing the correct model is the first critical step toward a successful installation. Here are the core specifications you need to understand:
The vast majority of standard concealed hinges require a 35mm diameter cup hole, with a drilling depth of approximately 12–13mm.
Always confirm this dimension before boring; most Forstner bits in this size are readily available.
Common angles include 95°, 110°, 120°, and even 180°. For most kitchen cabinets, 110° is the standard choice—it offers sufficient clearance for drawers and adjacent doors. For corner cabinets, specialized applications, or storage boxes, a wider angle (up to 180°) may be required.
Based on how the door sits relative to the cabinet frame, hinges fall into three categories:
| Type | Description | Application |
|---|---|---|
| Full Overlay | The door completely covers the cabinet side panel. | Single-door cabinets or the outer doors of a run of cabinets. |
| Half Overlay | Two doors share one side panel; each covers half. | Adjacent doors on the same cabinet run. |
| Inset | The door sits flush with the cabinet frame, recessed inside the opening. | Traditional or flush-front designs. |
High-quality hinges—such as the T-hinge series from REHAU—are rated for up to 100,000 open-close cycles.
Even entry-level damped hinges typically offer 20,000 to 80,000 cycles, sufficient for decades of daily household use.
Hinges with integrated hydraulic dampers (oil-pressure or spring-driven) ensure doors close slowly, quietly, and without impact—preventing slamming, finger-pinching, and reducing wear on both hinges and cabinet frames. For heavy or tall doors, choosing a hinge with built-in oil-pressure damping is strongly recommended.
Although the process may seem intricate at first, following these clear steps will yield professional results. Key tools required:
35mm Forstner drill bit
Power drill
Tape measure and ruler
Spirit level
Screwdriver (Phillips or flathead, as required)
Using the 35mm Forstner bit, drill a blind hole approximately 12–13mm deep on the inside face of the door.
Positioning rule of thumb: the center of the hole should be roughly 4–5mm from the door edge.
For standard cabinets, install hinges at a distance of 80–100mm from both the top and bottom edges of the door.
Press the hinge cup firmly into the drilled hole (it should fit snugly).
Secure it using the supplied screws. Ensure the hinge arm points toward the cabinet interior.
Position the hinge base plate on the inside of the cabinet side panel.
Use a spirit level to verify vertical alignment, and ensure all hinges for a given door are at identical heights.
Align the hinge arms with the base plates on the cabinet frame.
Gently push the door backward—you will hear a distinct "click" sound when the snap-on mechanism engages correctly.
Give the door a light tug to confirm it is securely locked.
Close the door and inspect the gaps and flushness.
Use the three adjustment screws (vertical, horizontal, depth) to achieve perfect alignment. Make small incremental adjustments and re-check after each turn.
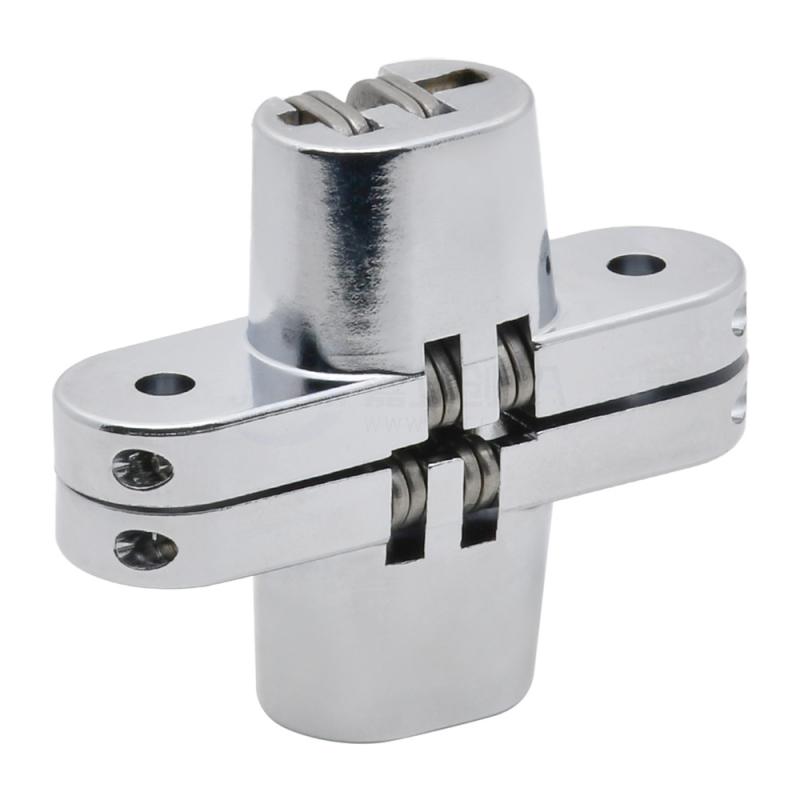
Even with careful installation, issues can arise. Here’s how to diagnose and fix them:
| Problem | Likely Cause | Solution |
|---|---|---|
| Door won't close fully, or springs open | Hinge installed upside down, or depth screw is over-tightened. | Flip the hinge orientation; back off the depth adjustment screw slightly. |
| Uneven gaps between doors | Horizontal adjustment is off. | Use the left/right adjustment screw to shift the door until gaps are uniform. |
| Door is recessed or protrudes from the cabinet face | Depth adjustment needs fine-tuning. | Turn the in/out screw clockwise to pull the door inward, or counter-clockwise to push it outward. |
| Loud slamming noise | No damping function present, or damper is defective. | Verify you purchased a soft-close model; if defective, replace the hinge. |
| Door sags over time | Weight of the door exceeds hinge capacity, or screws have loosened. | Use hinges with higher load ratings; tighten all mounting screws; consider adding a third hinge for tall doors. |
If you're still weighing your options, here is a concise summary of why concealed hinges have become the industry standard:
Aesthetic Excellence: Zero visible hardware when doors are closed—a hallmark of modern, minimalist design.
Superior Adjustability: Three-dimensional correction capability eliminates the "one-chance" anxiety of traditional hinges.
Tool-Free Door Removal: Snap-on mechanisms allow you to detach doors in seconds for painting, cleaning, or access to tight spaces.
Enhanced Safety: Soft-close damping prevents finger injuries in households with children.
Longevity: High-quality hinges outlast the furniture itself, with cycle lives far exceeding typical usage requirements.
Concealed hinges represent a true innovation in modern woodworking and home cabinetry. They combine minimalist aesthetics with functional precision, effectively solving the pain points that traditional hardware could never address—namely, the inability to correct installation errors after the fact. Whether you're installing new kitchen cabinets, crafting high-end wardrobes, or tackling a DIY furniture project, mastering the selection, installation, and calibration of concealed hinges will elevate the quality of your work by a full grade.